HouseWorks re-secured, finished, primed, and painted a sagging Herndon ceiling so the homeowner's attic insulation crew could get back to work.
See It in Action
An Attic Insulation Job That Uncovered a Ceiling Problem in Herndon, VA
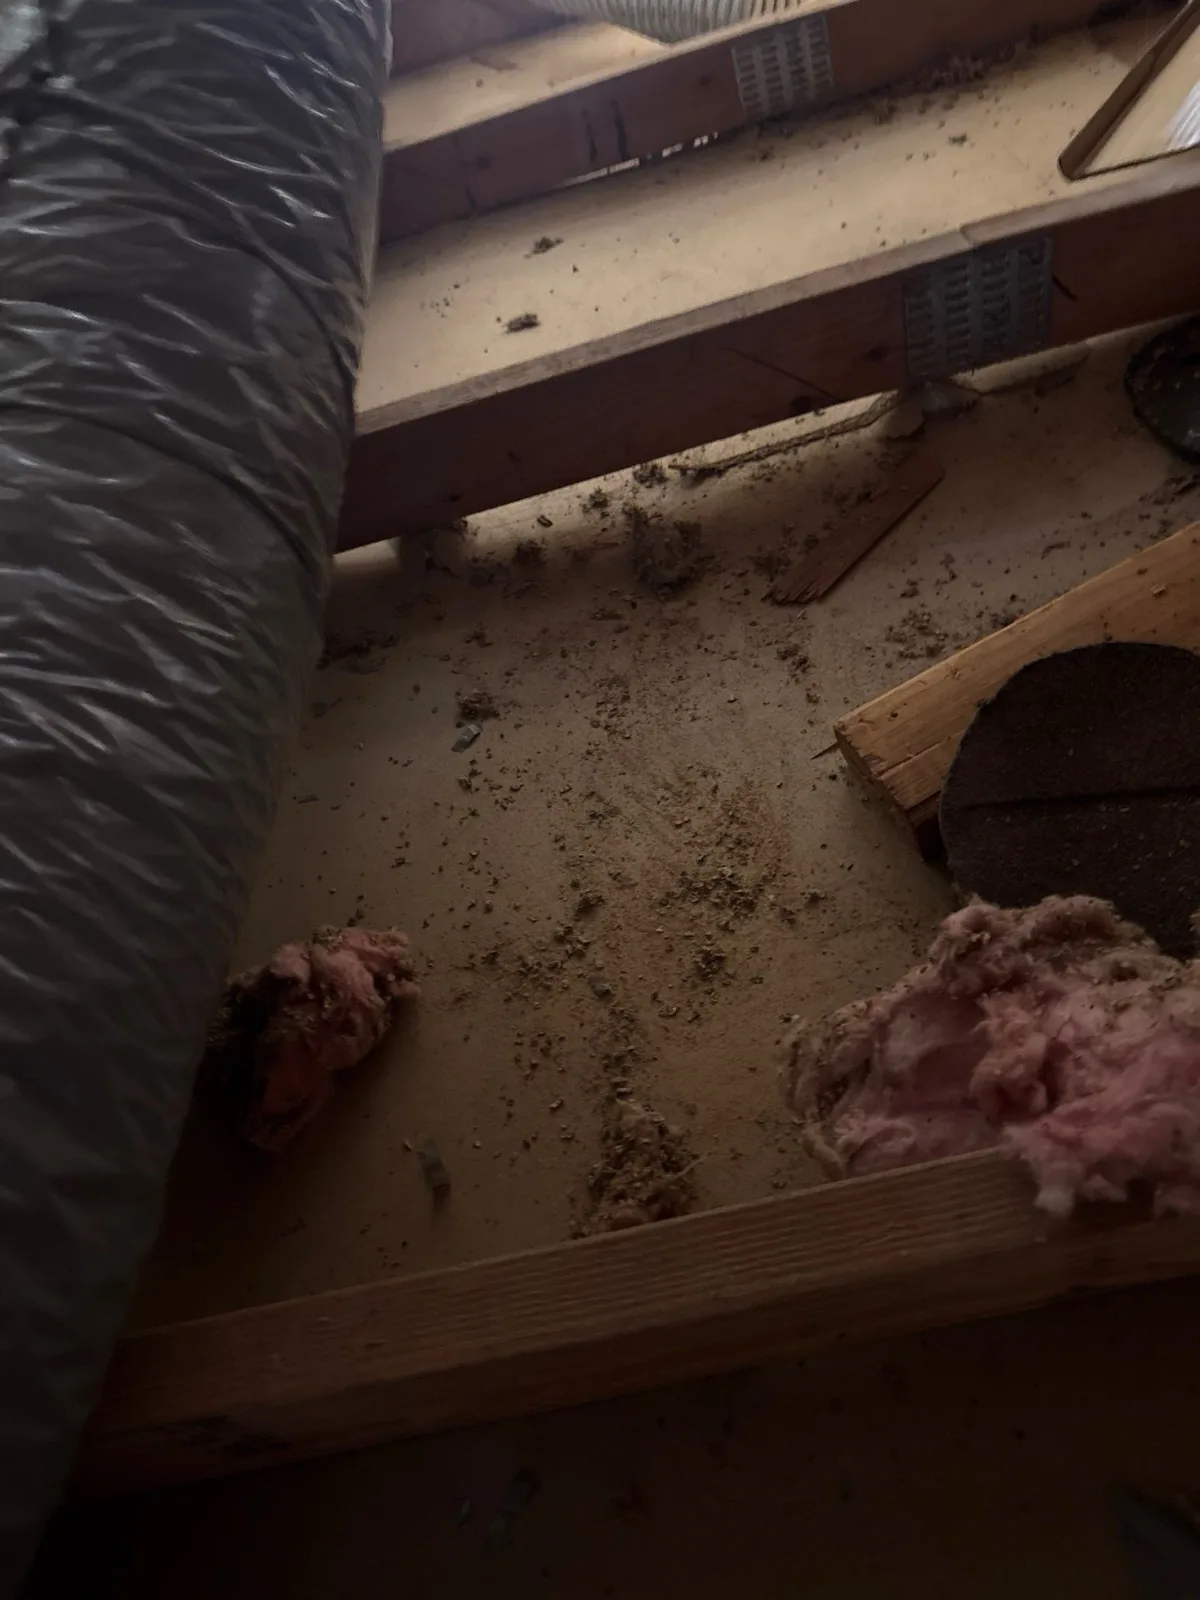
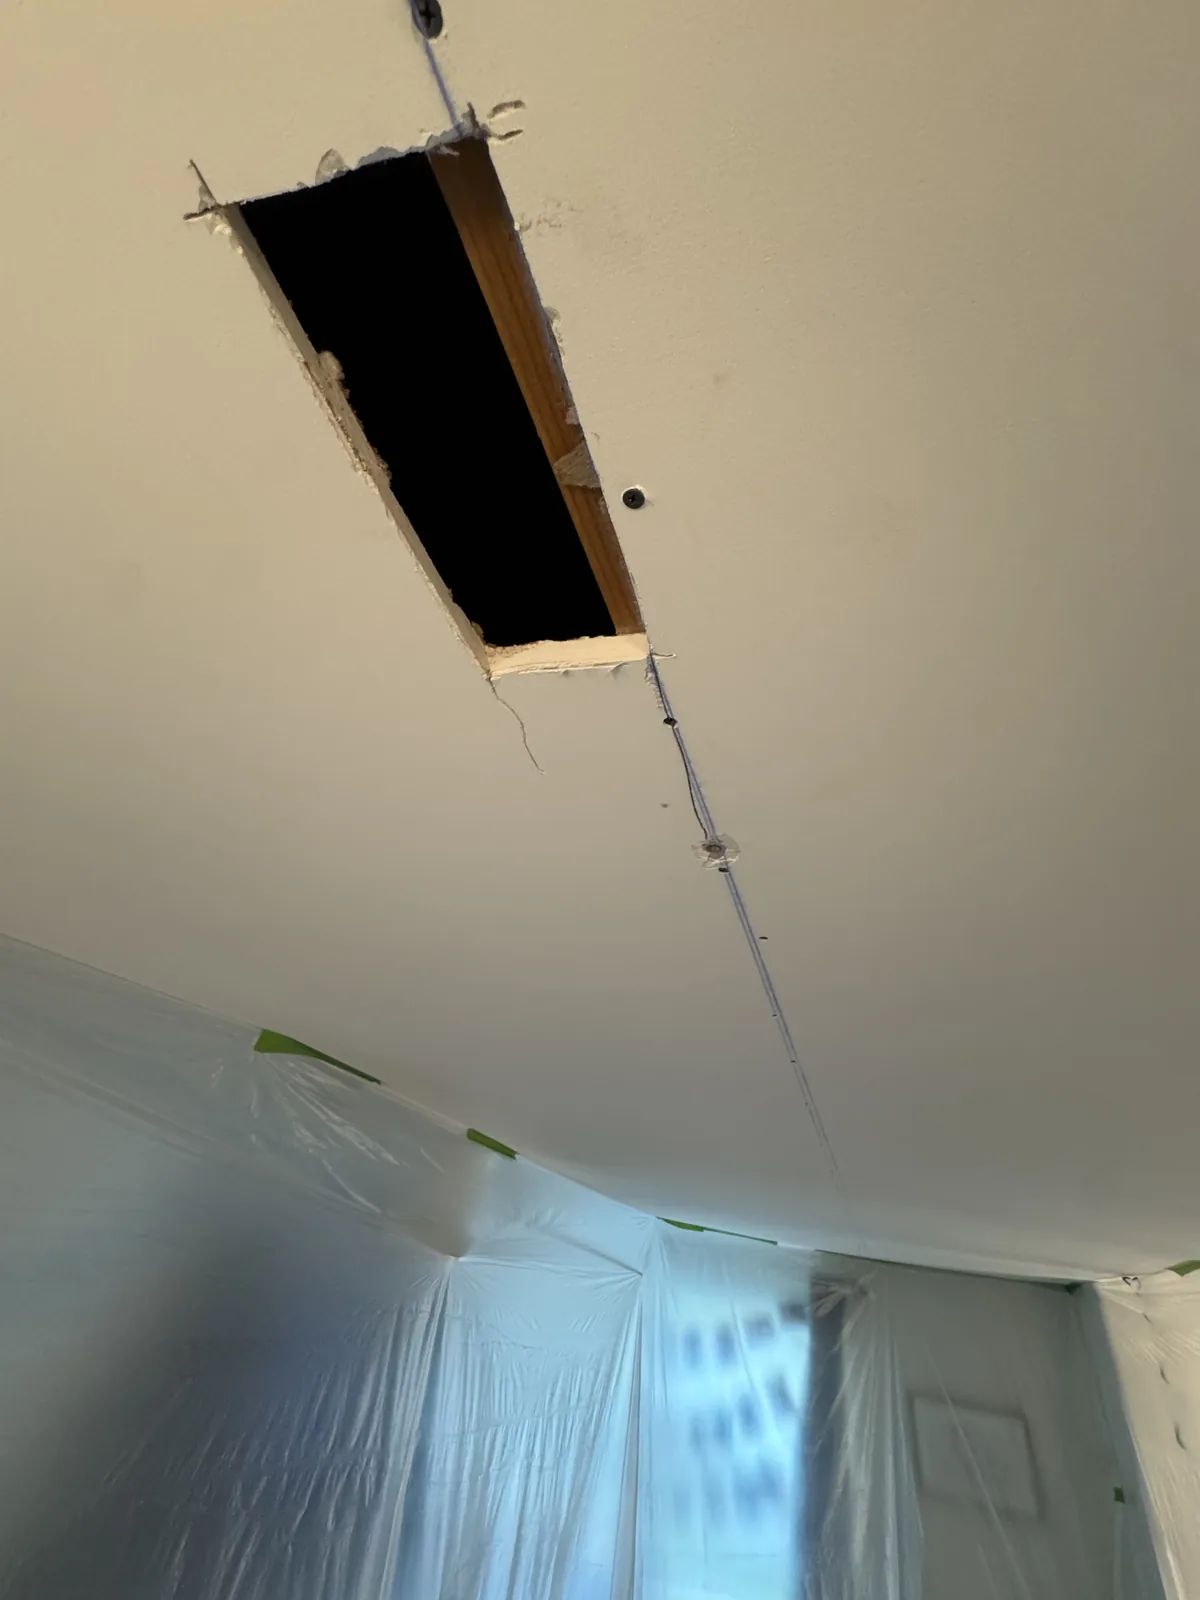
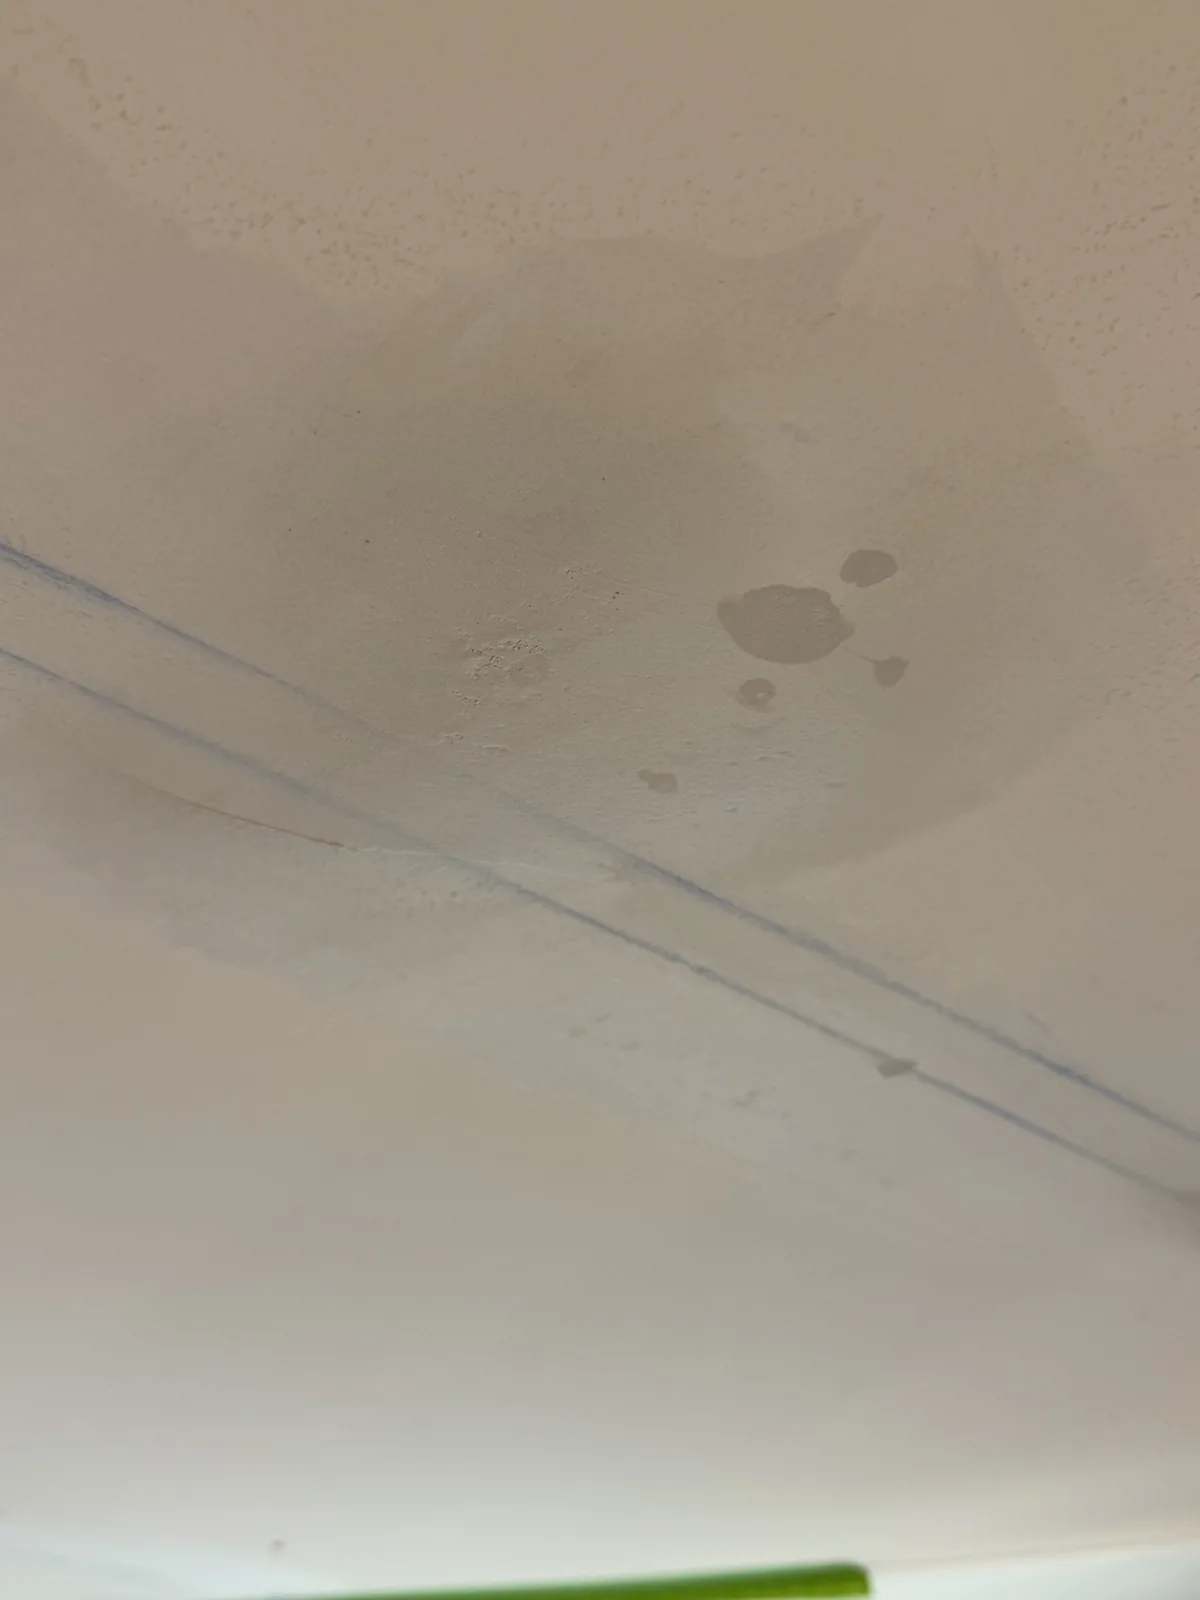
This homeowner in Herndon, VA was in the middle of a smart upgrade — bringing their attic insulation up to a proper R-value from a pretty dismal R-8 — when the insulation crew stopped and made a phone call. The ceiling underneath the attic had started to sag. Adding hundreds of pounds of blown-in insulation on top of loose, unsecured drywall would have made a bad situation much worse, and the crew wasn't willing to keep working until the ceiling was fixed.
That's when they called us. The ask was straightforward: get the drywall re-secured to the joists, patch and finish the damaged areas, prime and paint it, and hand the house back over so the insulation crew could pick up where they left off. Our tech Eduardo was on-site within a few days.
If you're anywhere in Northern Virginia — Herndon, Reston, Chantilly, Sterling, Vienna, or anywhere else in NoVA — and you're staring at a sagging ceiling, dealing with a stalled reno, or spotting cracks that keep coming back, we handle it end-to-end.
Have something similar going on? Get a real price range for your ceiling in about a minute →
Protecting the House First — Before Any Drywall Work Starts
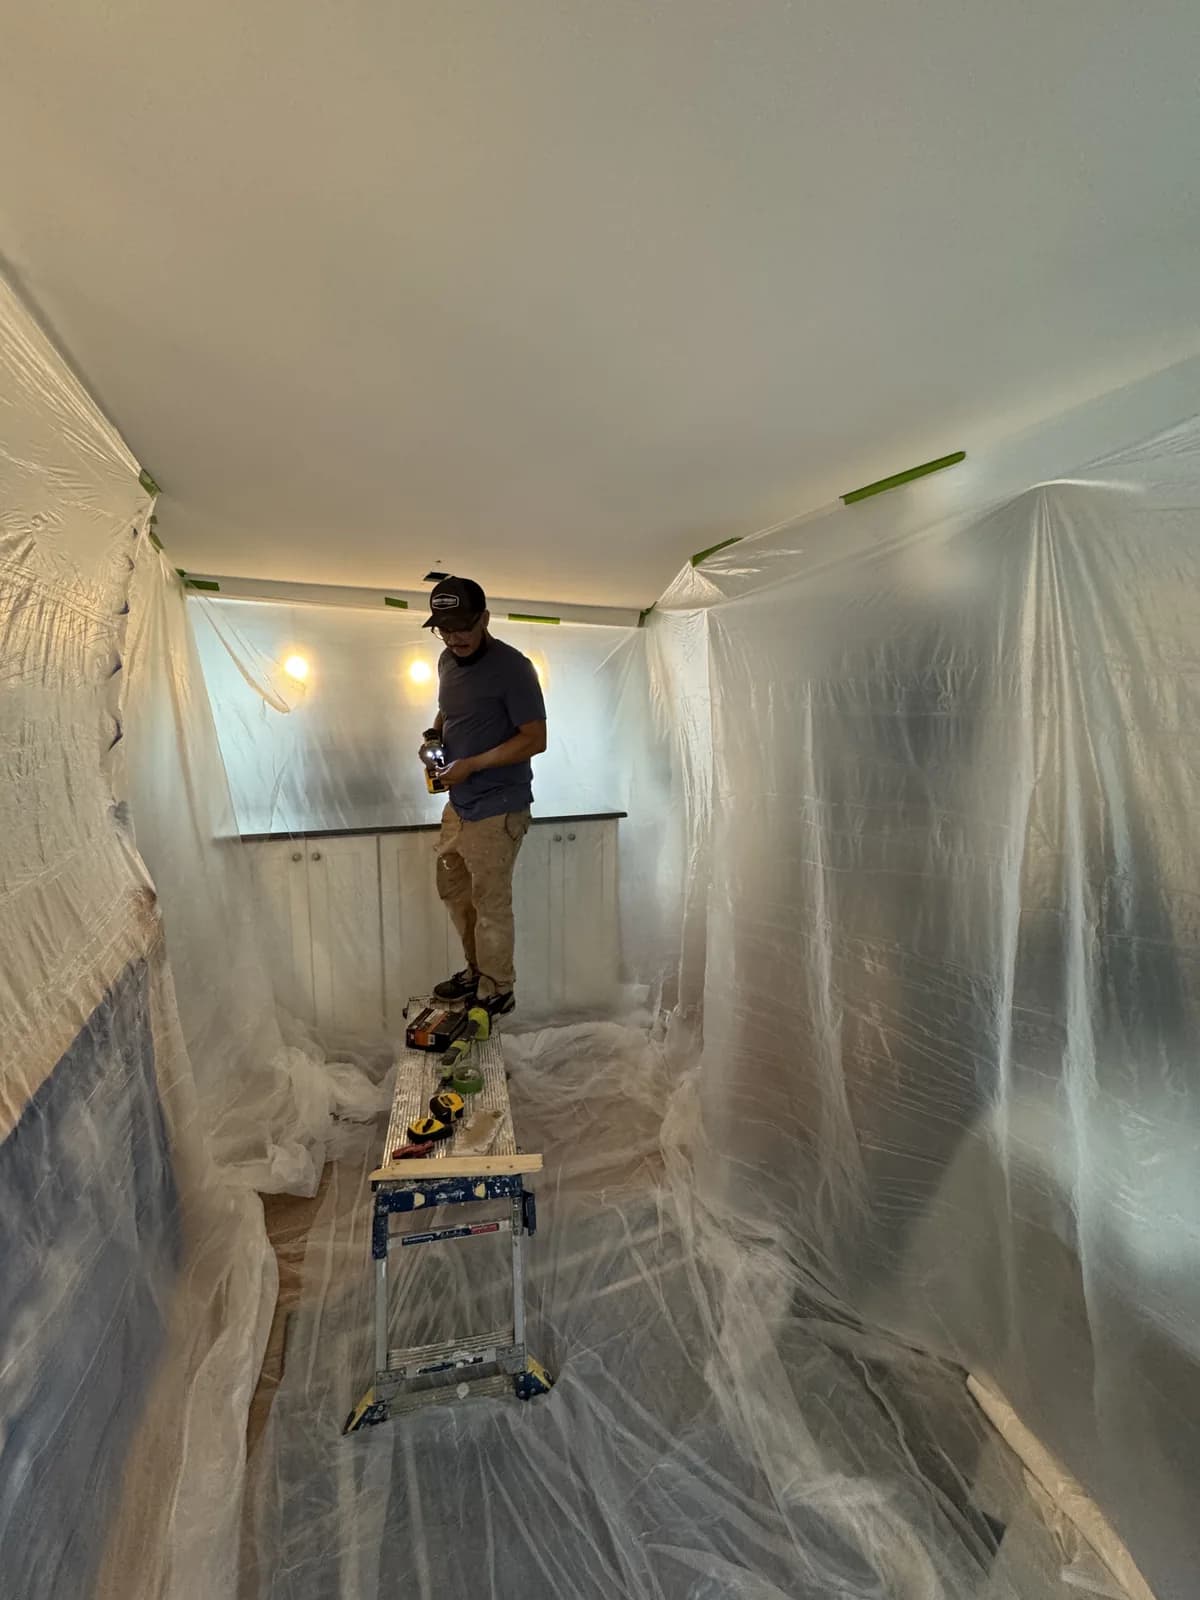
Ceiling work is dusty. Joint compound sanding kicks up fine white powder that finds its way into every crack of a room if you don't contain it. Primer overspray drifts. Paint mist settles on furniture. So before Eduardo picked up a single tool, the entire work zone got wrapped — walls masked with plastic sheeting, floors covered, furniture protected, and the workspace laid out so the repair, finishing, and painting could all happen in sequence without stopping to re-tape anything.
That's just how the job runs. A ceiling repair is only as good as the room you hand back at the end of it — and that starts with not making a mess in the first place.
How the Ceiling Actually Got Fixed
This wasn't a nail-pop or a hairline crack — the drywall panels themselves needed to be re-fastened to the framing above before anything cosmetic could happen. Here's the sequence Eduardo worked through:
The Finished Ceiling — and Why That Attic Access Hatch Matters
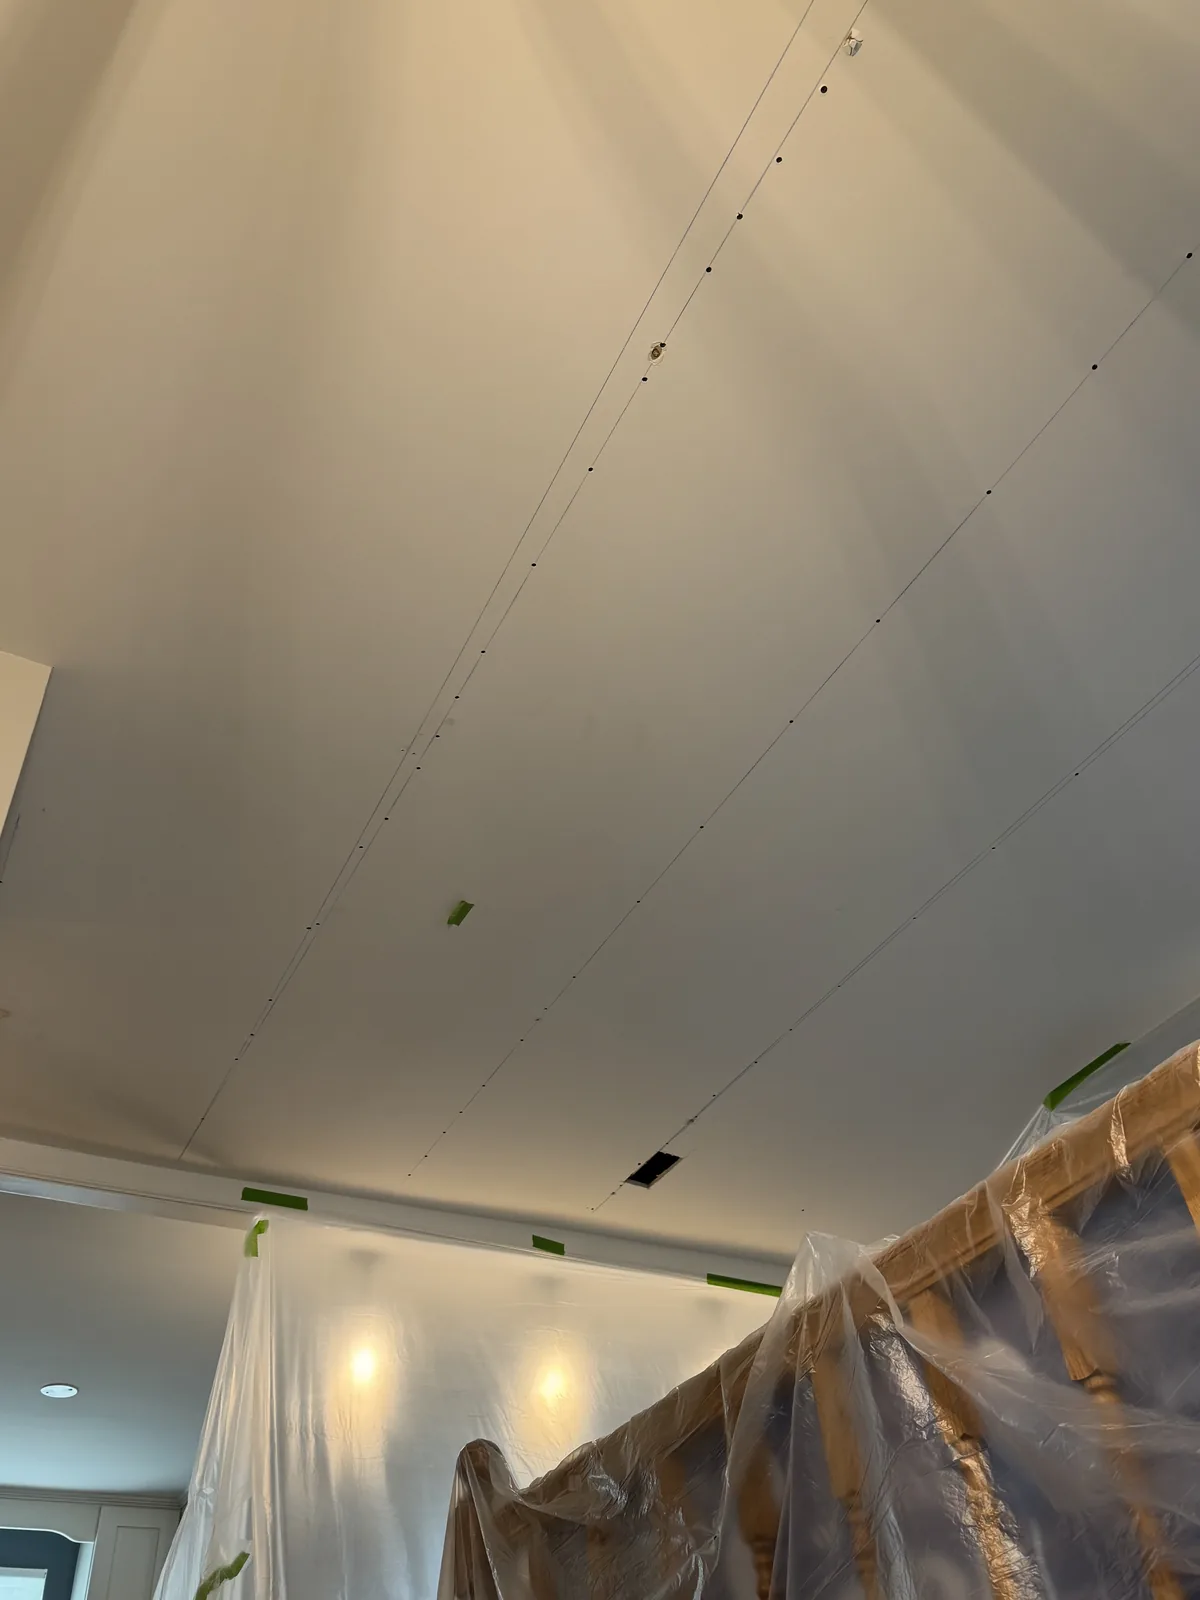
By the time Eduardo wrapped up, the ceiling was flat, structurally sound, freshly primed and painted, and — critically — ready for the insulation crew to come back through the attic access hatch and finish blowing in insulation. That hatch in the photo below is the whole reason this job existed: it's how the insulation crew gets up into the attic, and it's where they spotted the sag on their first visit. Now it opens onto a ceiling that will actually hold the weight of what they're about to install.
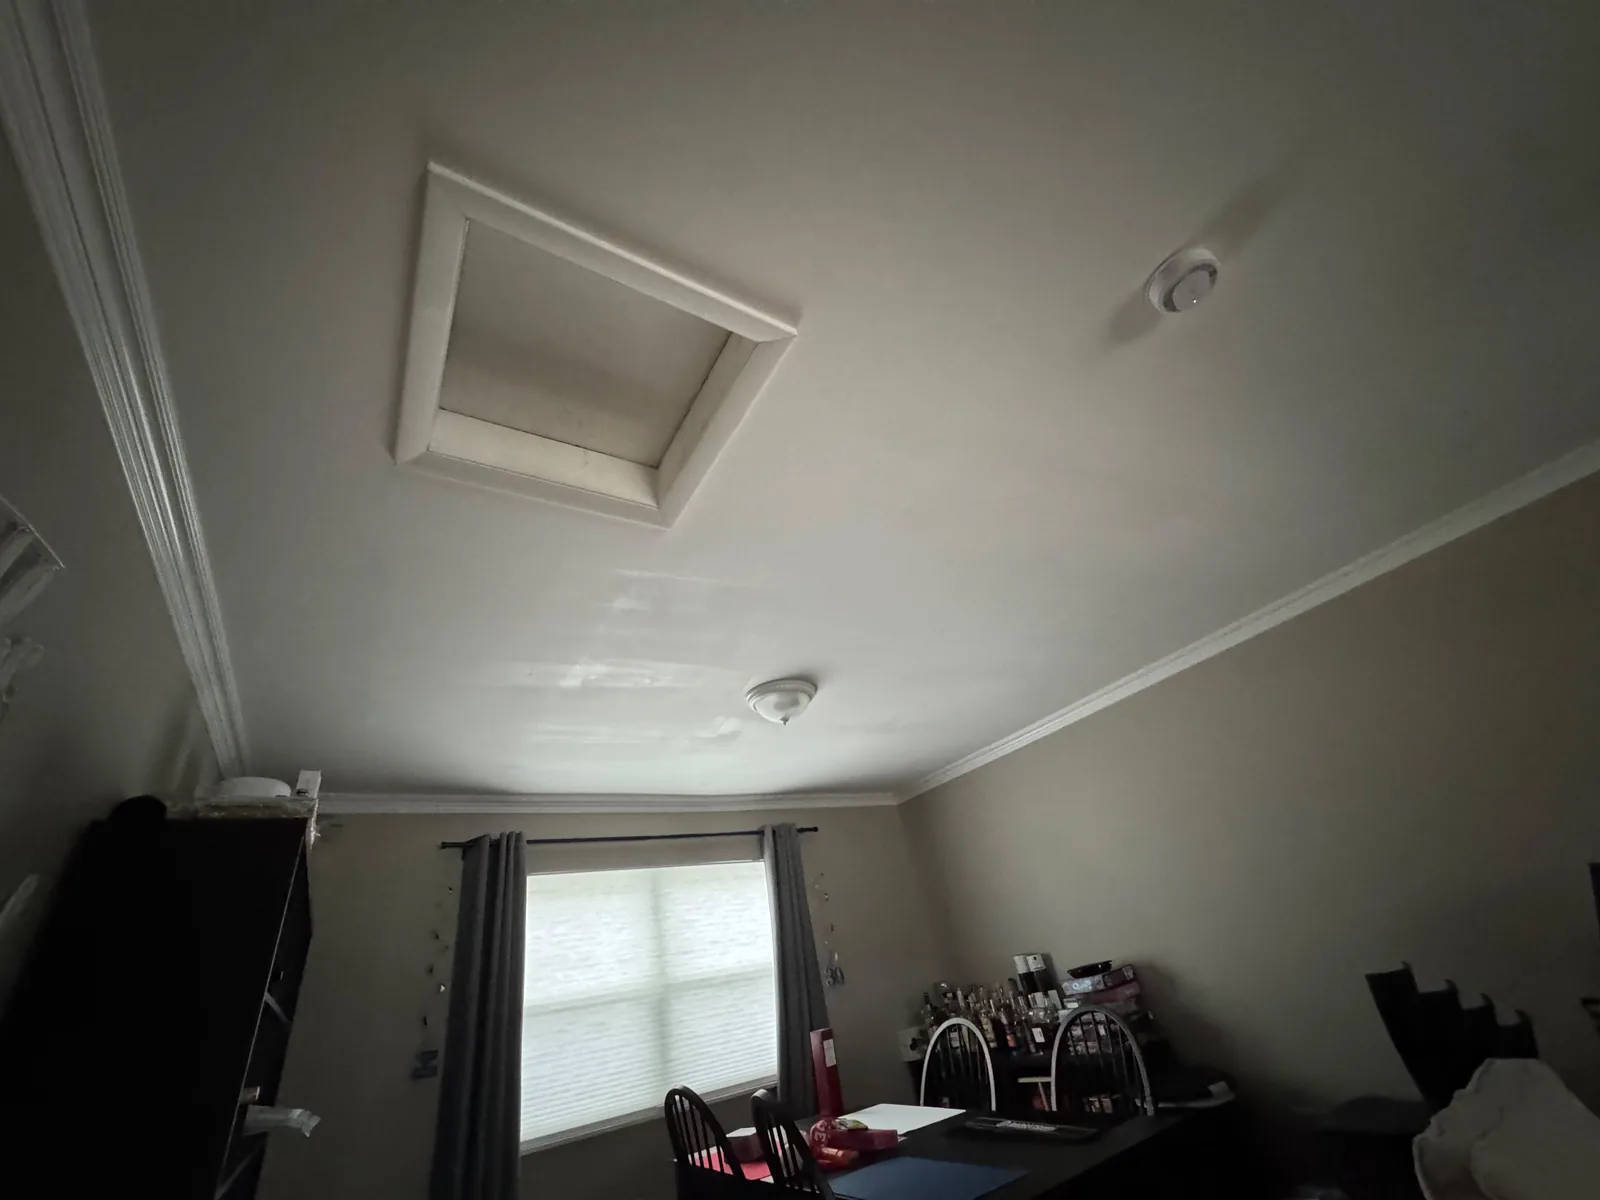
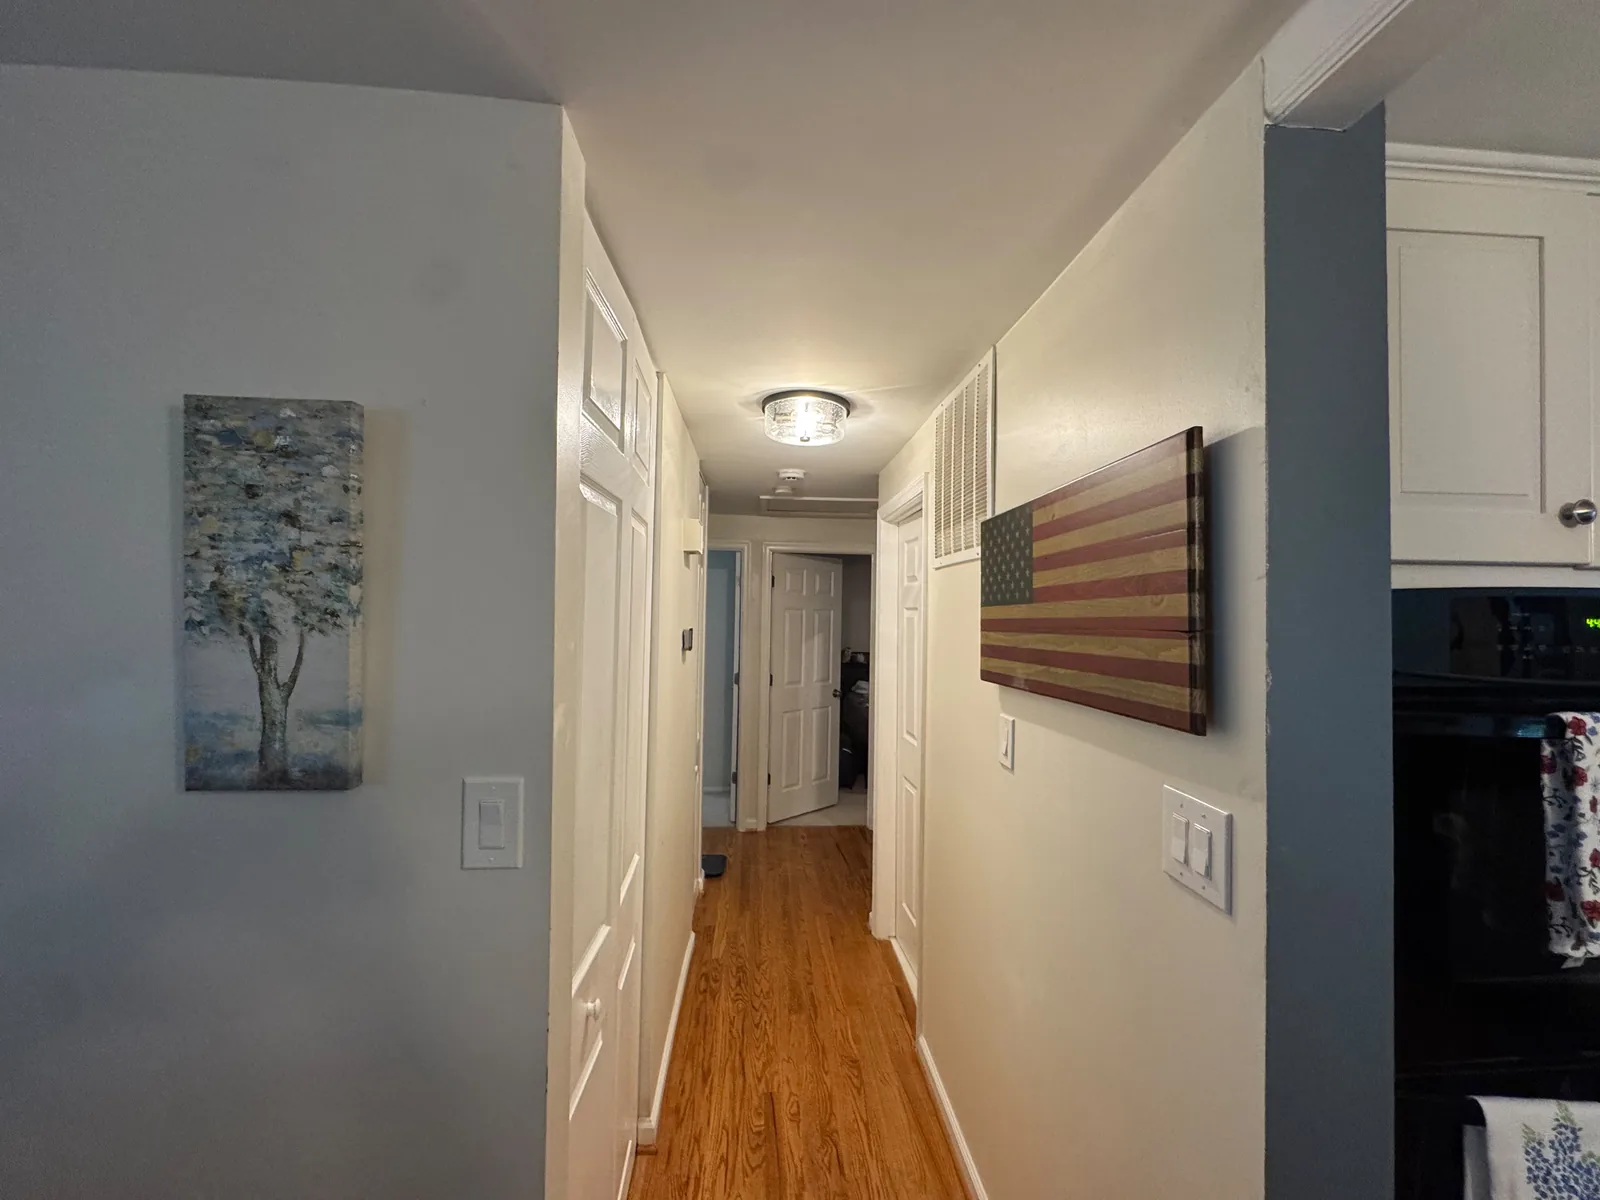
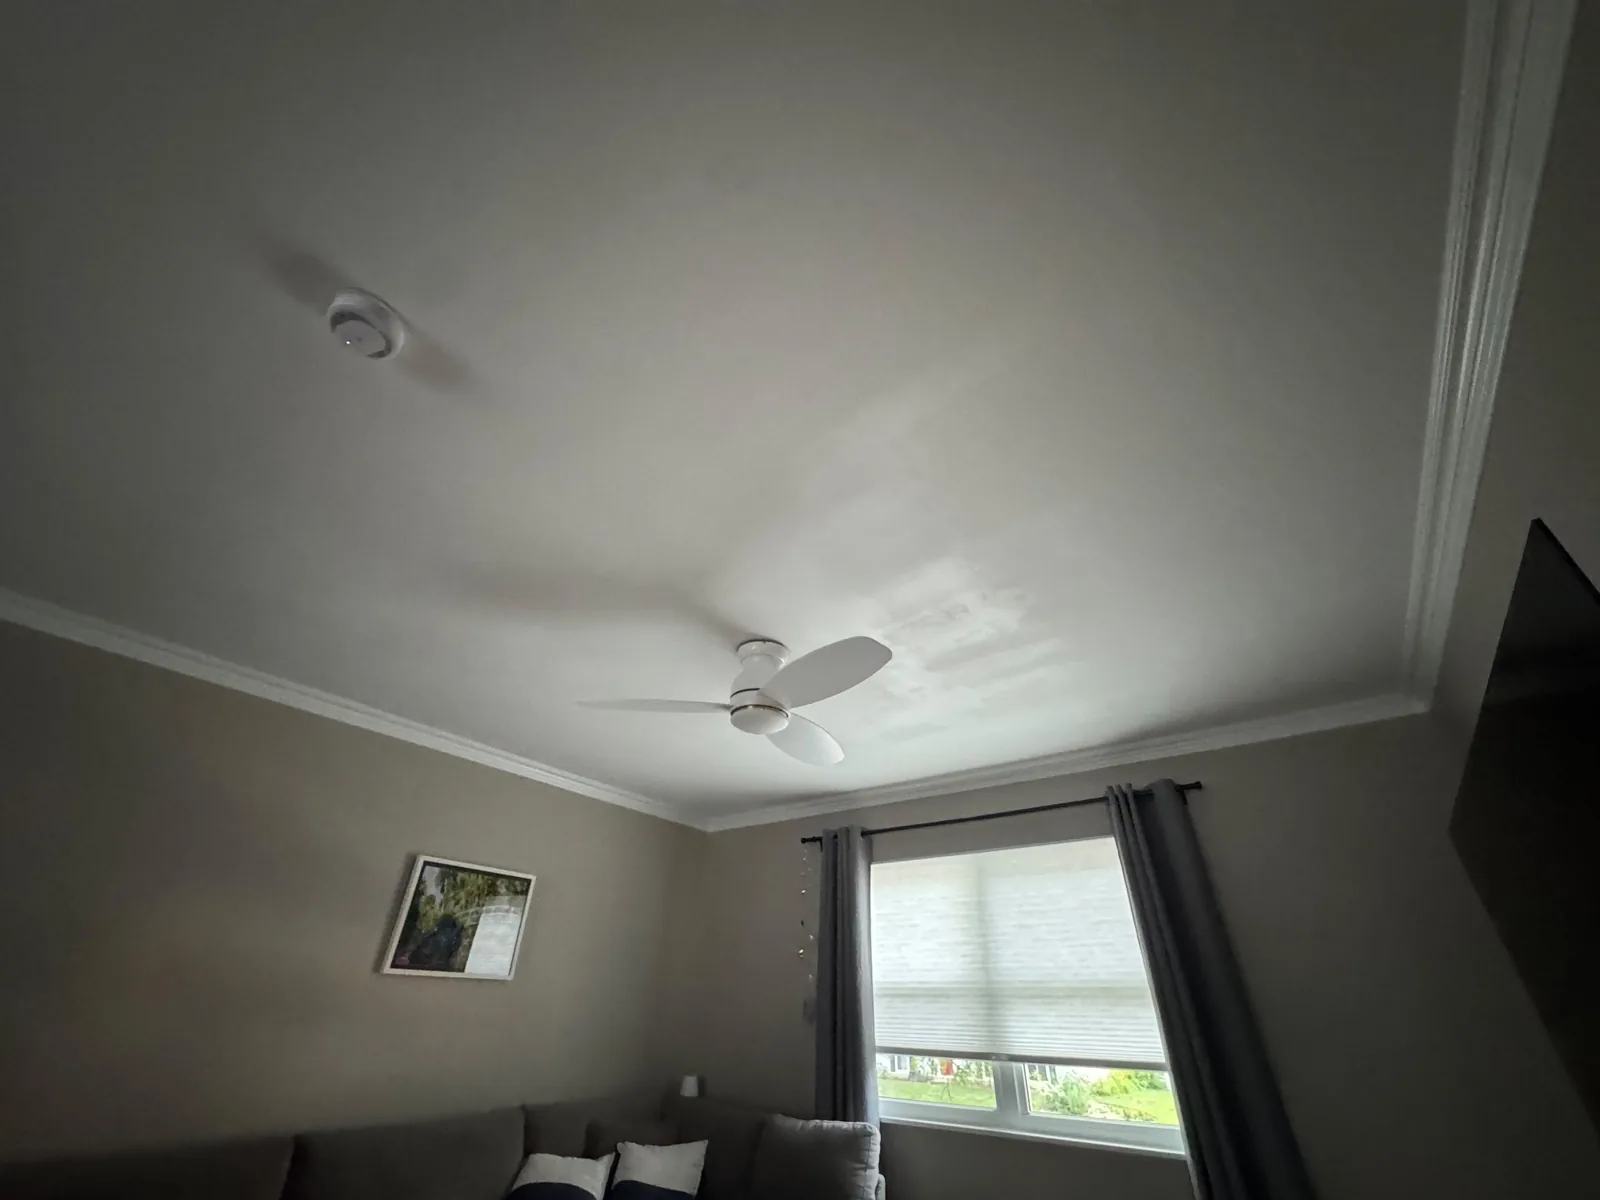
No visible patch lines, no shiny spots where fresh paint sits on top of unprimed compound, no telltale sag. The homeowner got what they asked for: a ceiling ready to live under, and ready to be worked over.
The Common Ceiling Problems We Fix Across Northern Virginia
This Herndon job was a re-secure — but ceilings fail in a handful of predictable ways, and each has its own right fix:
Sagging or Bowed Drywall
Exactly what happened here. Screws and nails lose their grip over time, especially in homes where humidity, temperature swings, or added weight (like new insulation) put extra load on the ceiling. The fix is re-fastening to the joists — not skim-coating over the top and hoping it holds.
Water Damage
Roof leaks, upstairs bathroom drips, HVAC condensation. Water-damaged drywall doesn't hold joint compound, it can grow mold behind the paint, and it needs to come out and be replaced — not painted over.
Cracked Ceilings
Cracks along seams, in the middle of a panel, or radiating out from a corner usually come from settling, seasonal expansion and contraction, or drywall that was never properly fastened. Small cracks get taped and mudded. Recurring cracks mean something is still moving and needs to be figured out before finishing.
Popped Nails and Screws
As a house settles and framing lumber dries, fasteners push back through the drywall face — you'll see little raised bumps under the paint. The fix is to drive a new screw a couple inches away into the joist, set or remove the popped fastener, and skim over the whole area before repainting.
Texture Matching
A lot of NoVA houses built in the 80s and 90s have textured ceilings — light orange peel, heavier knockdown, sometimes popcorn. Matching that texture on a repair is a skill in its own right. A visible patch with the wrong texture is almost as bad as leaving it unpainted.
Why Homeowners Keep Calling HouseWorks for Ceiling Work
There are plenty of handymen in Northern Virginia — here's what people tell us made the difference on their job:
**Drywall is our main thing.** We're not a general contractor that also does drywall on the side. Eduardo and the rest of the crew work with mud and tape every day. That shows up in the finish.
**One crew, one job.** You don't have to hire a separate drywall guy and a separate painter, then hope they show up on the right days in the right order. We repair, finish, prime, and paint the ceiling in a single service.
**We show up.** When the Herndon insulation project got put on hold, this homeowner needed us fast. We got them scheduled quickly and Eduardo arrived ready to work.
**We work all across NoVA.** From Fairfax to Ashburn, Arlington to Manassas, same standard of work.
When It's Time to Call Someone
A few things really do warrant a professional look — don't wait on these:
If more than one of those applies, calling in a pro is going to be faster and cheaper than the piecemeal fix.
Get a Real Price Range in About a Minute
Whether you're looking at a sagging ceiling like this Herndon job, prepping the house for a bigger project, or just done staring at a bad old patch — we can help. We handle the whole job: re-securing, patching, finishing, priming, painting. One crew.
Get Your Free Instant Estimate →
Upload a photo of your ceiling and describe what you're dealing with — the estimator gives you a real Northern Virginia price range in about 60 seconds, no phone tag required.
Frequently Asked Questions
How long does ceiling drywall repair take in Herndon, VA?
Most single-visit ceiling repairs wrap up in one day. Larger jobs — where multiple panels need re-securing, or where several coats of joint compound and paint are involved — usually stretch into a second visit to allow proper dry time between coats. We'll give you a realistic timeline once we see the ceiling.
How much does ceiling repair cost in Northern Virginia?
It depends on the scope — the size of the affected area, whether panels need to be re-fastened to the joists, and whether finishing and painting are included. Use our Free Instant Estimate on this page for a real ballpark in about 60 seconds — upload a photo or describe what you're seeing.
Can sagging ceiling drywall be repaired without replacing the entire ceiling?
Usually yes. If the panels themselves are still solid and haven't been soaked or crumbling, we can re-secure them to the joists, patch and finish the seams, and blend the paint so the repair disappears. Full replacement is only needed when the drywall is water-damaged, moldy, or too far gone to hold fasteners.
Do I need to repair my ceiling before having attic insulation installed?
If your ceiling is already sagging or pulling away from the framing, yes — get it re-secured first. Blown-in insulation adds real weight overhead, and it will make an existing sag worse. Insulation crews will almost always pause the job when they spot loose drywall, exactly like the crew did on this Herndon home.
Does HouseWorks handle both the drywall repair and the painting, or do I need to hire a separate painter?
We do the whole job — re-securing, patching, taping, mudding, sanding, priming, and painting — as one service. No coordinating a separate painter, no gap between trades. One crew, one visit (or two, if scope calls for it), and one finished ceiling.